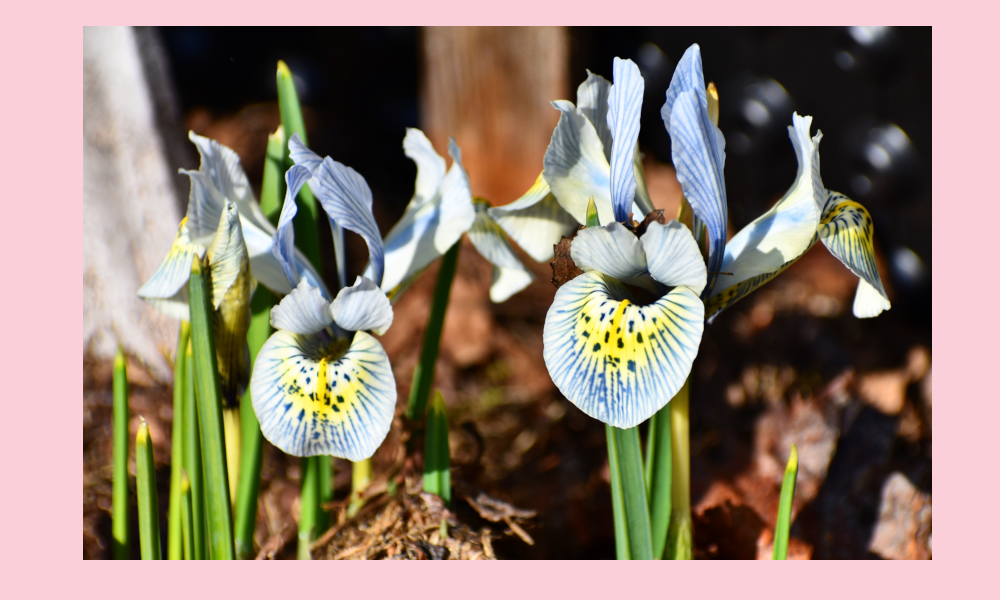
Iris flowers are renowned for their elegance and vibrant colors, making them a beloved addition to gardens around the world. If you're looking to enhance your garden's beauty with these stunning blooms, planting iris rhizomes is the way to go. In this step-by-step guide, we'll walk you through the process of planting iris rhizomes, ensuring that you can enjoy the beauty of irises in your own backyard.
Step 1: Gather Your Supplies
Before you start planting iris rhizomes, gather the necessary supplies:
- Iris rhizomes (available at garden centers or online)
- Spade or garden fork
- Well-draining soil
- Compost or organic matter
- Garden stakes and twine (optional)
- Watering can or hose
Step 2: Choose the Right Location
Select a suitable location for your iris rhizomes. Irises thrive in full sun to partial shade, so choose a spot with at least 6 hours of sunlight per day. Ensure that the soil is well-draining to prevent rhizome rot.
Step 3: Prepare the Soil
Prepare the soil by loosening it to a depth of 8 to 10 inches using a spade or garden fork. Remove any weeds, rocks, or debris from the area. Adding compost or organic matter to the soil can improve its fertility and drainage.
Step 4: Dig the Holes
Dig holes for your iris rhizomes. The holes should be about 12 to 24 inches apart to allow adequate spacing for growth. Each hole should be about 2 to 3 inches deep and wide enough to accommodate the rhizome comfortably.
Step 5: Plant the Rhizomes
Place the iris rhizomes in the holes with the pointed end facing upwards. Gently spread the roots out in the hole. Be sure not to bury the rhizome too deeply; they should be just below the soil's surface. Firmly pack the soil around the rhizomes to secure them in place.
Step 6: Water Thoroughly
After planting, water the iris rhizomes thoroughly to settle the soil and eliminate any air pockets. Ensure the soil is evenly moist but not waterlogged. Watering deeply at the time of planting encourages strong root development.
Step 7: Mulch and Mark
Apply a layer of mulch, such as straw or wood chips, around the iris plants. Mulch helps retain moisture, suppress weeds, and maintain a consistent soil temperature. If you're planting multiple iris varieties, use garden stakes and twine to mark the locations of different cultivars.
Step 8: Maintenance
Keep the soil consistently moist but not soggy during the growing season. Irises generally require about 1 inch of water per week, either from rainfall or manual watering. Fertilize lightly with a balanced, all-purpose fertilizer in early spring or late summer. Remove spent flowers to encourage more blooms and cut back foliage in the fall to prevent disease.
Step 9: Enjoy the Blooms
With proper care and patience, your iris rhizomes will reward you with breathtaking blooms in late spring to early summer. These elegant flowers come in a wide range of colors and varieties, adding a touch of sophistication and charm to your garden.
Conclusion:
Planting iris rhizomes is a straightforward process that can bring an abundance of beauty to your garden. Follow these steps, and you'll be able to enjoy the elegance of iris flowers for years to come. Whether you choose bearded irises, Siberian irises, or another variety, your garden will be transformed by the striking colors and graceful shapes of these beloved perennial flowers.
Iris Planting: A Step-by-Step Guide For Adding Elegance to Your Garden

0 comments